
866 字
4 分钟
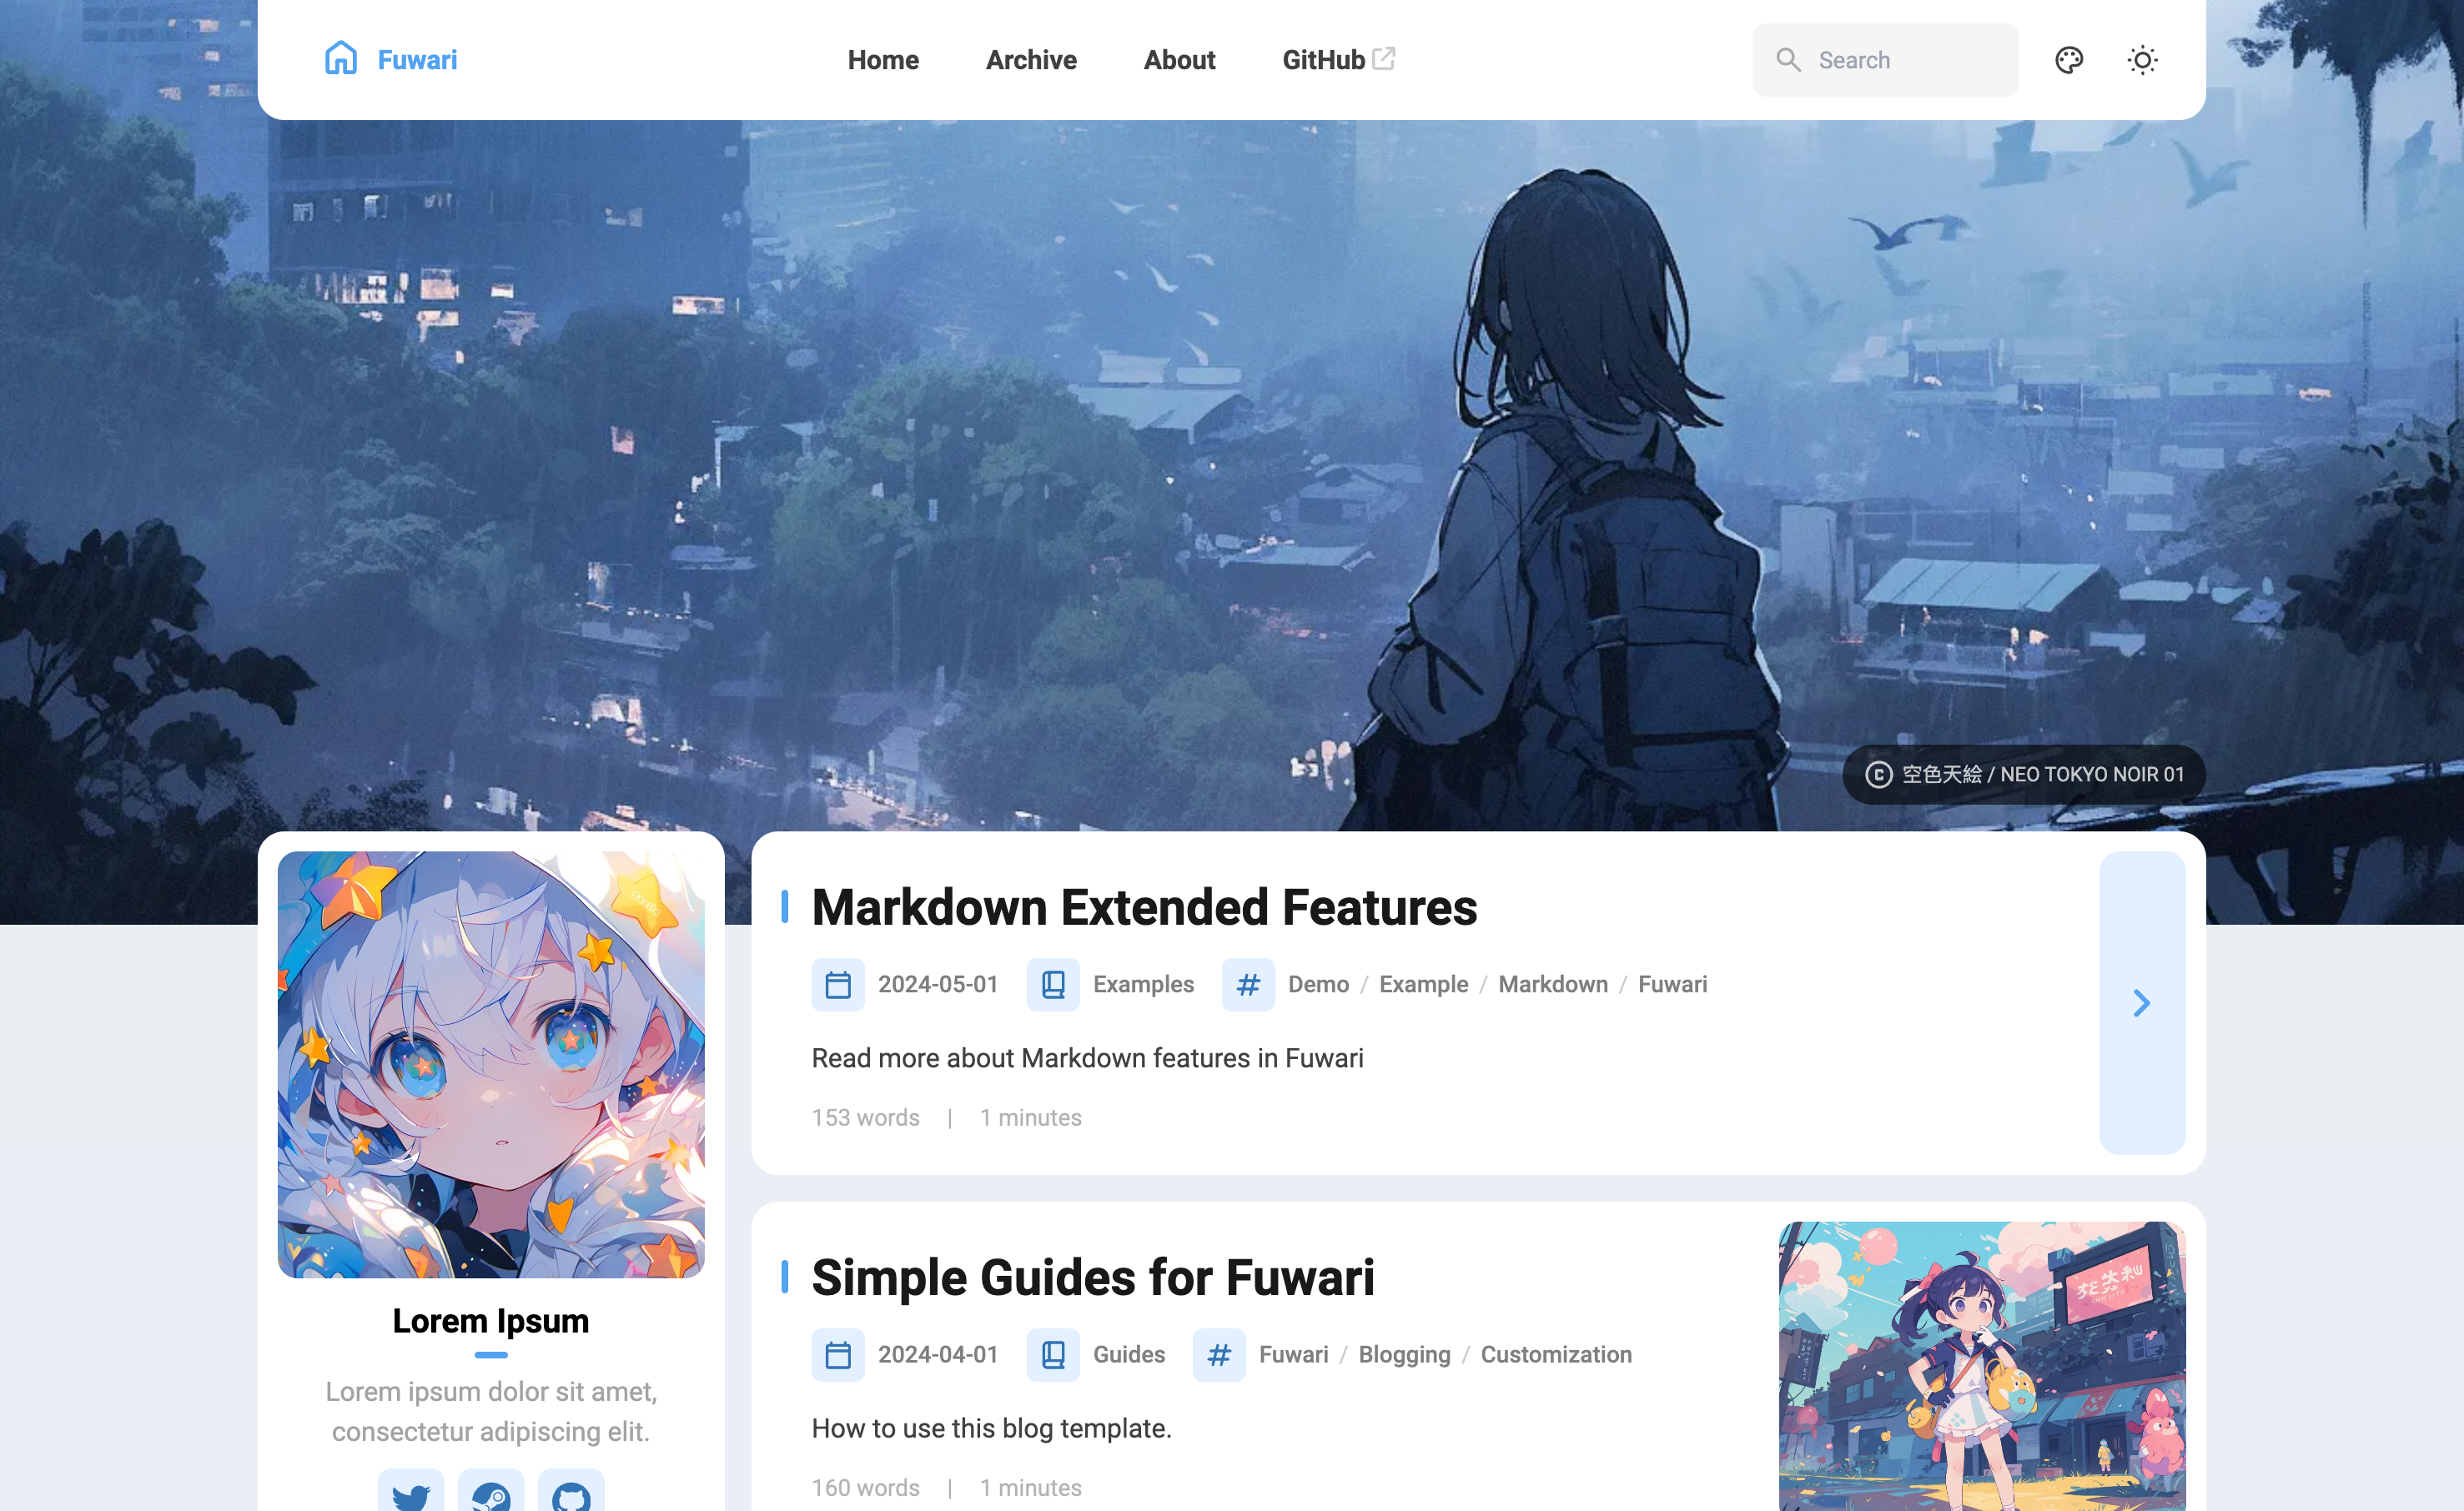
fuwari博客搭建,并部署到Github Pages

🍥 Fuwari 教程(部署到Github Pages)
基于 Astro 开发的静态博客模板。
🖥️在线预览(Vercel) / 🌏English README / 📦旧 Hexo 版本
🚀 使用方法(部署到Github Pages)
创建Github.io仓库
- 登录自己的github。创建一个
repository,命名为[用户名].github.io - 使用
git clone 用户名.github.io,克隆到本地。
git clone https::/github.com/username/username.github.io
cd username.github.io
git config --global user.name "username"git config --goabal user.email "youremail@xxx.com"
# 远端github仓库的分支一般为main# 本地新建仓库的分支一般为mastergit branch -M main # 切换为main分支
# 创建到github的推送链接git remote add origin https::/github.com/username/username.github.io
# 创建一个README.md文件
git add README.mdgit commit -m "first commit"git push -u origin main # 设置默认推送到main分支,之后的git push会默认推送到main分支在仓库文件夹下搭建博客环境
-
克隆fuwari博客项目到本地
Terminal window git clone https://github.com/saicaca/fuwari.git -
将fuwari博客项目下的文件,拷贝到自己的
用户名 github.io项目文件夹中。Terminal window cp -r ./fuwari/* ./username.github.io/ -
开始本地博客环境搭建,
cd ./username.github.io切换到本地仓库中。- 先安装nodejs,推荐20 LTS版本。
- 安装博客依赖
Terminal window npm install -g pnpm # 安装pnpmpnpm installpnpm add sharp # 安装博客依赖pnpm build # 构建博客pnpm preview # 本地预览博客
部署到Github Pages
- 博客本地搭建成功后,在github网站下进入仓库,在
username.github.io -> setting页面,选择action选项,选择allow action赋予Github Action权限。 - 创建
.github/workflows/deploy.yml(github Action自动部署文件),添加官方的部署代码。(注意修改node的版本)
name: Deploy to GitHub Pages
on: # Trigger the workflow every time you push to the `main` branch # Using a different branch name? Replace `main` with your branch’s name push: branches: [main] # Allows you to run this workflow manually from the Actions tab on GitHub. workflow_dispatch:
# Allow this job to clone the repo and create a page deploymentpermissions: contents: read pages: write id-token: write
jobs: build: runs-on: ubuntu-latest steps: - name: Checkout your repository using git uses: actions/checkout@v4 - name: Install, build, and upload your site output uses: withastro/action@v2 with: path: . # The root location of your Astro project inside the repository. (optional) node-version: 20 # The specific version of Node that should be used to build your site. Defaults to 18. (optional) # node-version 不能使用21 package-manager: pnpm@latest # The Node package manager that should be used to install dependencies and build your site. Automatically detected based on your lockfile. (optional)
deploy: needs: build runs-on: ubuntu-latest environment: name: github-pages url: ${{ steps.deployment.outputs.page_url }} steps: - name: Deploy to GitHub Pages id: deployment uses: actions/deploy-pages@v4-
在
username.github.io仓库的Setting页面,选择Pages选项,设置Build and deployment->Source->Github Actions,保存。 -
在
username.github.io/src/content/post下创建一个test.md文档测试
---title: My First Blog Postpublished: 2023-09-09description: This is the first post of my new Astro blog.image: /images/cover.jpgtags: [Foo, Bar]category: Front-enddraft: false---
# H1## H2H2Blog Test- git push推送到仓库。push时会自动触发Action,部署静态博客页面.
# Git脚本# 用法:./filename.sh "commit message"
#!/bin/bash# 检查是否提供了提交注释if [ $# -eq 0 ]; then echo "Usage: $0 <commit message>" exit 1fi
# 添加所有文件到暂存区git add .
# 提交文件并添加提交注释git commit -m "$1"
# 推送提交到远程仓库git push
echo "Files committed and pushed successfully."⚙️ 文章 Frontmatter
---title: My First Blog Postpublished: 2023-09-09description: This is the first post of my new Astro blog.image: /images/cover.jpgtags: [Foo, Bar]category: Front-enddraft: false---🧞 指令
下列指令均需要在项目根目录执行:
| Command | Action |
|---|---|
pnpm install 并 pnpm add sharp | 安装依赖 |
pnpm dev | 在 localhost:4321 启动本地开发服务器 |
pnpm build | 构建网站至 ./dist/ |
pnpm preview | 本地预览已构建的网站 |
pnpm new-post <filename> | 创建新文章 |
pnpm astro ... | 执行 astro add, astro check 等指令 |
pnpm astro --help | 显示 Astro CLI 帮助 |
fuwari博客搭建,并部署到Github Pages
https://chrisnake11.github.io/blog/posts/others/fuwari/